In this post I’m going to show you how you can batch resize images in Photoshop!
Hey guys, my name is Scott and I make full and mini tutorials like this one on Photoshop, Premiere, and videos on Freelancing tips. So please do consider hitting the follow button at the top of this page, so you don’t miss any of those! And if you have any suggestions for future posts you’d like to see on Photoshop, jump down to the comment section below and let me know! Ok let’s get into how we can batch resize images in Photoshop.
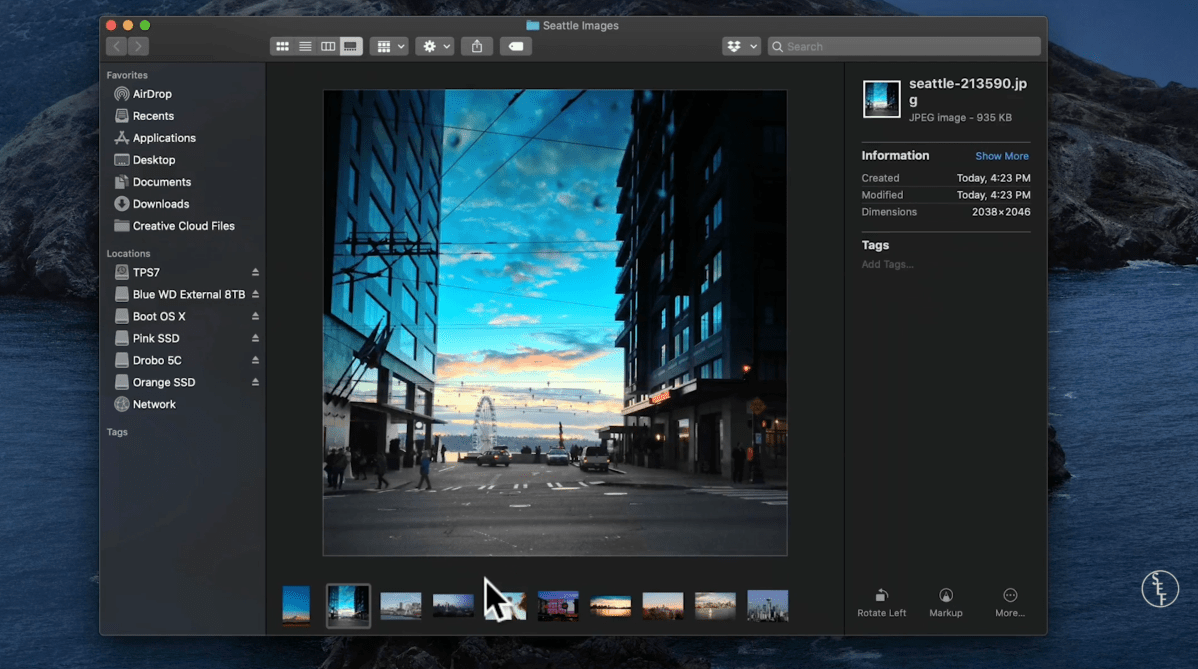
So I have a bunch of images here, and they’re all different sizes, but I’d to make them all the same size. So instead of going one by one through each image and having to resize them individually, which would be time consuming, I can create an action in photoshop that will batch resize each image automatically. This is great for when you’ve gone on a trip, or some kind of photoshoot, and you’ve got hundreds of images to go through and you want to resize them all at the same time.
The first thing we’ll want to do is create an action, and we can do that by going over to the actions window. If you don’t see the actions window, go up to Window, and make sure that actions is checked. Okay, so within this window there’s some presetup actions that you can use in Photoshop like adding sepia tone or gradients to images. But in our case we’ll want to creat a custom action. So now I’m going to go down to the bottom of the window and click the folder icon, to create a new folder. I’ll call this folder, “Batch Resize”.
From here, I’ll go right next to the folder icon and select the square with the plus sign in it, which creates a new action. I’ll name this image resize dash 1920px, for the width of the image size that I want to create. So the way this works is, when I hit the record button, photoshop is actually going to record my next steps which will be manually resizing this one image, and then save that as a preset action. So the next time I open up images, I can just hit the resize image 1920px action and it will do it automatically without having to go through all the other steps.
Ok now I’ve hit record, I’m going to go up to Image, then to Image resize, and then I’ll want to change the width to 1920 pixels. The rest of this looks good, so I’ll hit ok. Next, I’m going to go up to File, and then hit save. This will also make sure the action records us saving the image, so that the images automatically save where I want them to when I run the batch action. So I select the pre setup folder I have on my desktop and select ok. Now I’ll go back to my actions window and hit the stop record button, which is the square next to the red circle, and that stop the recording of the action. Now you can see the steps I did, which was image resizing, and then saving.
So the next step is to start the batch automation process, but before we do that, I’d suggest that you keep all of the images you want to batch resize together in a folder somewhere, it just makes the whole process much easier that way. Ok so now I’m going to go up to File, then down to automate, and then select batch. A dialog box should come up, and the first thing we’ll make sure is selected is the set action, which should pointing to the Batch Resize folder we created. And then the action should be set to the recorded action we just created which is Image 1920px.
Next we’ll tell Photoshop which folder we want it to batch resize from, which is the folder that has all my original images in it. Now, we’ll go over to the top right of this dialog box and select the folder that we want our new images to save to. So I’ll select the pre setup folder I have on my desktop. And then lastly, we’ll want to select override action “save as” commands, this will ensure that Photoshop automatically saves during the batch process. Before I hit ok, I’m just going to bring up the empty new folder so you can see how Photoshop populates it as it batch resizes the images. Now that I have the folder up, I’ll select ok, and that’s it! Photoshop will start its batch resizing and we can see the folding getting new image files as it saves each one.
Once the batch resizing is done, I can go back and check on each image to make sure that it’s the right size, which they are, and it worked perfectly. So that’s how you can batch resize images in Photoshop. If you’ve enjoyed this post, please hit the like button and feel free to share with anyone else who might also enjoy it. For more information on Photoshop, Premiere and Freelancing tips head on over to my YouTube page, and visit my twitter page at ScottEFowler. Also, check out my other tutorial videos which I’ve posted at top of this page. Alright, that’s it for me guys see you in the next post!
