In this post I’m going to show you how you can flip and rotate images in Photoshop!
Hey guys, my name is Scott and I make full and mini tutorials like this one on Photoshop, Premiere, and videos on Freelancing tips. So please do consider hitting the follow button at the top right of this page so you don’t miss any of those! Ok let’s get into how we can flip and rotate images in Photoshop.
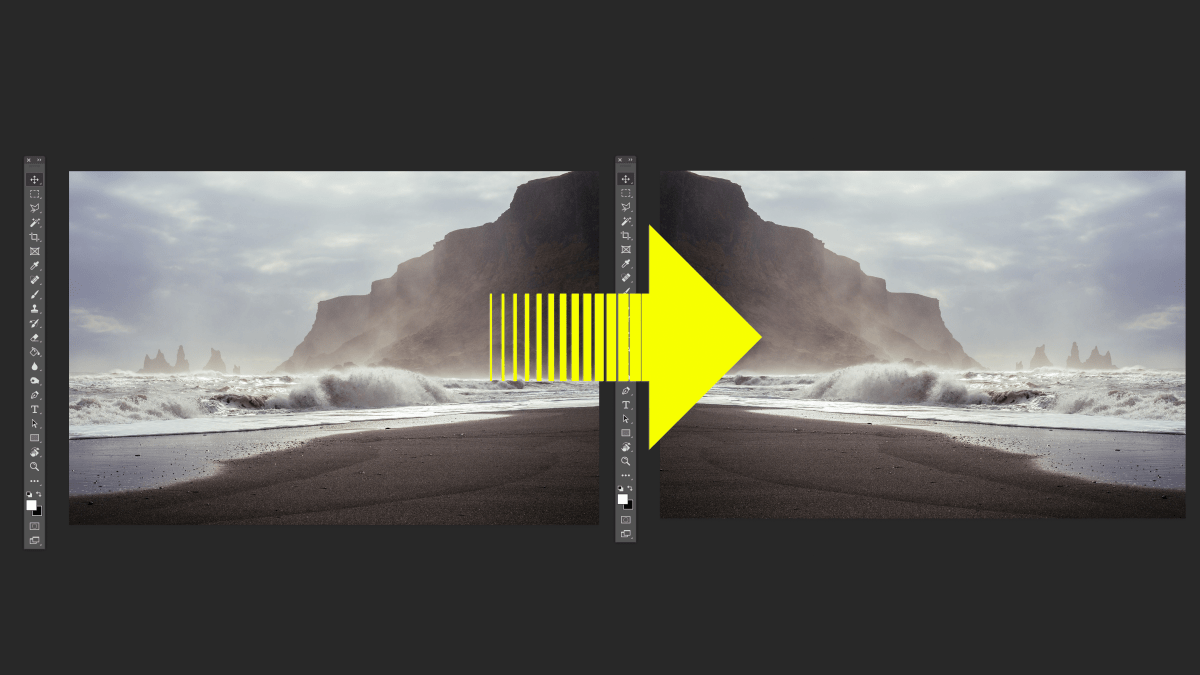
So I have an image here of a beach that I’d like to flip around, because I’d like to have everything like this big rock formation on the left instead of the right. There’s a quick way to do this which is go up to image, and then go down to image rotation. From here, you’ll see there’s a small list of options to choose from. You can flip the image 180 degrees which will flip the image upside down. 90 degrees clockwise will flip the image vertical, and 90 degrees counter clockwise will also flip it vertical but in the opposite direction. And then with arbitrary, you can choose a degree that you want to flip it. So I’ll type in 45 degrees, and it will flip the image sideways. And then if you just want to quickly flip the image horizontally or vertically, there’s two options for that at the bottom. So with horizontal i was able to quickly flip the image, and now the large rocks are on the left instead of the right. But for now I’m going to hit command z to undo that because I want to show you the next thing.
Let’s say that I want to just flip one part of the image, that I have on a separate layer. I’ve gone ahead and created an extra smaller rock formation in the water, and this isolated rock formation has its own layer. I don’t want the entire image to flip with it, just this one rock formation Well, if I go up to Edit this time, and then go down to transform. The same options as before show up, only this time the rotations will only effect the layer that I have selected. So I’m going to pick flip horitzontal. And now my layer element is flipped around, but the rest of the image remains the same.
The next thing I want to show you is a way to manually adjust the rotation of an image. So I’m going to select that same layer with the rock formation in it, because I want to manually rotate this around. Next, I’m going to use the keyboard shortcut command T and then an outline of my image should appear. Now, if I hover next to any of the points with the white squares, you’ll see my mouse cursor has two arching arrows pointing in different directions. That means that I can now move this image layer around by left clicking and holding down the mouse and then dragging the image around to where I want it to be. I can also hover my mouse directly over top of a white square and the arrows will change to up and down arrows going in different directions. This means I can left click, and scale the image larger or smaller by dragging my mouse. I love this transformation tool, it comes in really handy for quickly moving images around and resizing them without having to go into the control panel somewhere.
So that’s how you can flip and rotate images in Photoshop, What other issues are you guys having with transforming images? Let me know in the comments below, and I’ll see if I can answer them! If you’ve enjoyed this post, please hit the like button and feel free to share with anyone else who might also enjoy it.
For more information on Photoshop, Premiere and Freelancing tips head on over to my YouTube page and my twitter page at Scott E Fowler. Also, check out my other tutorial videos which I’ve posted at the top of this page. Alright, that’s it for me guys see you in the next post!
